Get hands-on along with your backyard with these one-day DIY tasks!
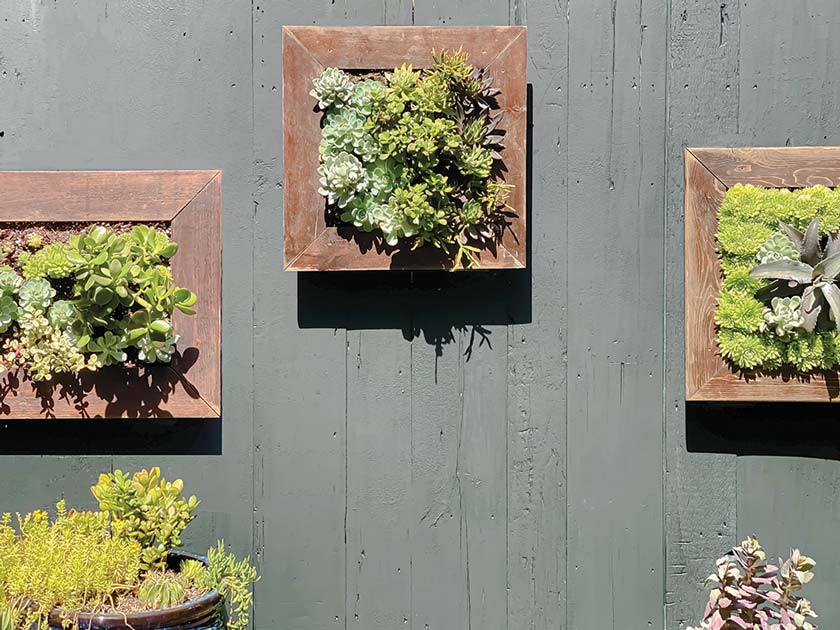
Backyard of Artwork: One-Day Succulent Shadowbox

Get up your patio partitions with these framed wall planter packing containers.
What You’ll Want
- Number of crops/succulents
- Shadowbox
- Planting soil
- Sphagnum moss
- Rooster wire
- Floral wire
- Stapler and staples
- Scissors
Find out how to Do It
Assemble a easy shadowbox body or adapt a store-bought shadowbox body for this undertaking. Add a 2-3-inch layer of soil, adopted by 1 or 2 inches of sphagnum moss. Minimize the hen wire to dimension to suit over the shadowbox opening (it will assist preserve your planting medium in place). Then, staple it to the body. Select your crops, (succulents work greatest for a planter similar to this) and snip openings within the hen wire the place you’d like to put your crops, filling the body as totally as you possibly can. It’s also possible to use floral wire to safe bigger succulents in place till the roots take maintain (about two or three weeks).
Bottles Up: DIY Vertical Backyard
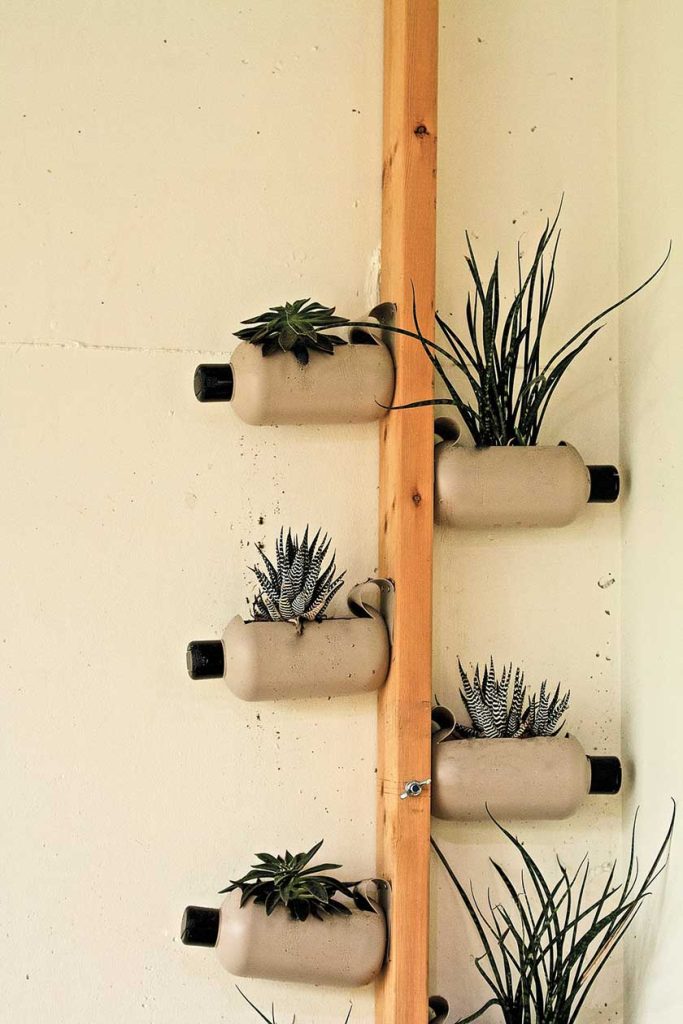
Upcycle previous drink or shampoo bottles into this eye-catching vertical backyard association.
What You’ll Want
- Emptied, clear bottles
- Scissors
- Drill with small drill bit
- Small houseplants
- Pebbles
- Planting soil
- Backyard stake or pole
- Screws and nuts for fastening to stake or pole
- Screwdriver
Find out how to Do It
Minimize an oval-shaped opening alongside one aspect of the bottle after which drill a couple of drainage holes on the alternative aspect. Then, by the highest opening, screw by the underside of the bottle to connect it to a tall stake or pole of your alternative. To plant, first add a layer of pebbles to additional help drainage. Then add a layer of soil earlier than including your crops.
For the Birds: DIY Waste-Free Chicken Feeder
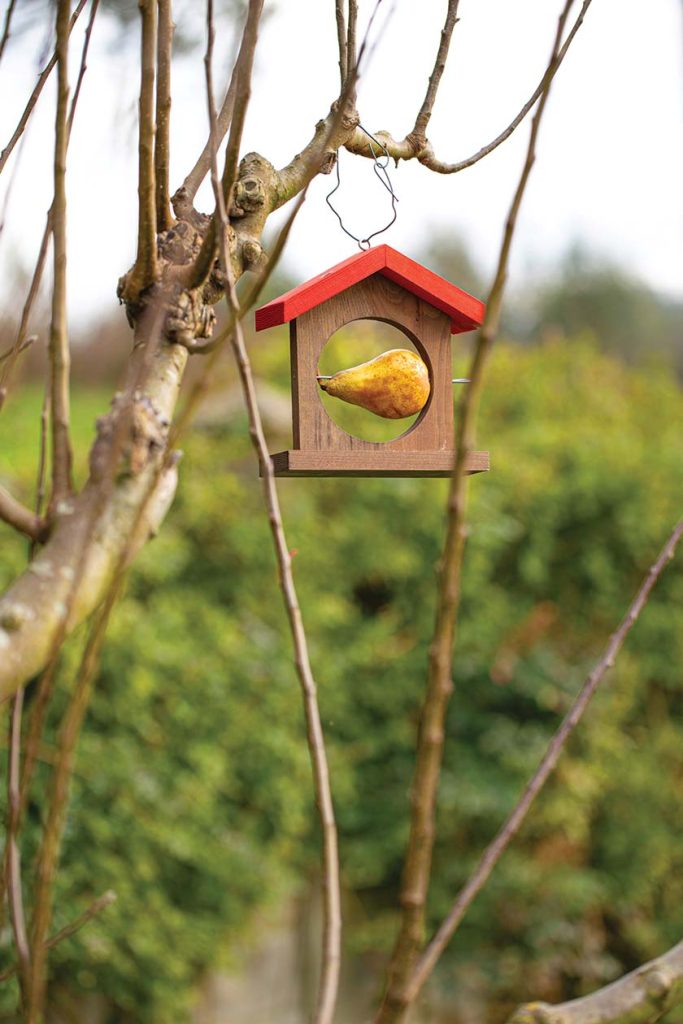
Composting is a superb technique to flip scraps into backyard “gold.” And this easy chicken feeder is one other technique to keep away from meals waste.
What You’ll Want
- 1×6-inch pine
- Gap noticed
- Metallic skewer
- Complete fruit
Find out how to Do It
Assemble a easy A-frame (or butterfly/folded plate roof) silhouette home form from 1×6-inch pine and use a gap noticed (a minimum of 5 inches in diameter) to chop a gap within the heart. Drill a small gap by each side of the home—straight throughout—so as to insert a metallic skewer that will probably be used to carry contemporary entire fruit.
Personalized DIY Tile Planter Field
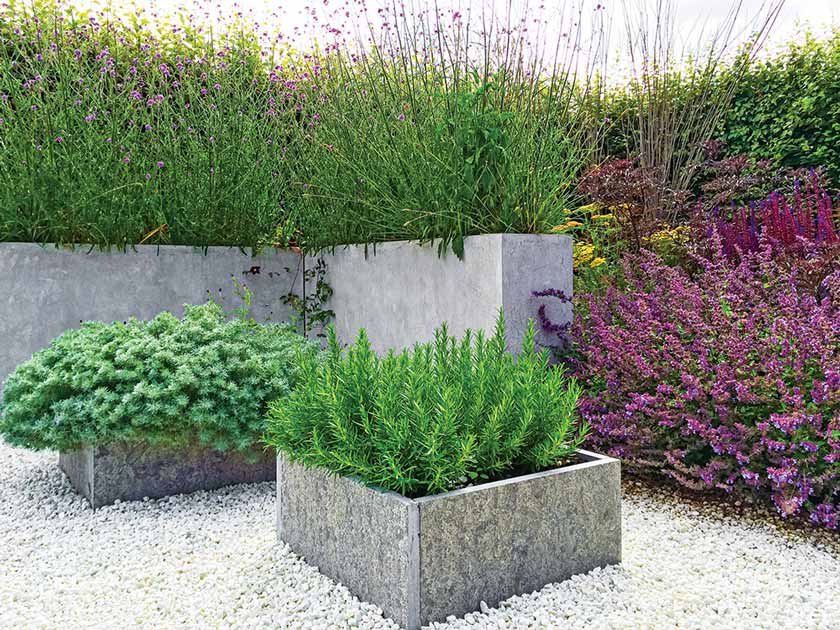
Customise your container backyard pots through the use of store-bought tile to create a easy planter. Sq. tiles are the simplest to make use of. You’ll make a box-shaped pot. It’s also possible to create rectangular planters (as seen right here), however be ready to chop the aspect tiles to dimension.
What You’ll Want
- 5 tiles of your alternative
- Tile cutter
- Drill with ceramic drill bit
- Denatured alcohol
- Epoxy
- Silicone caulking
- Clamps and heavy weights
Find out how to Do It
- In case you’re not utilizing sq. tiles, minimize two tiles to dimension to type the edges of your planter.
- Utilizing the drill with a ceramic drill bit, create one or two drainage holes within the tile that may function the underside of your planter.
- Decide how the tiles will come collectively to type your five-sided pot. Prep the sides that may adjoin one another by wiping them down with denatured alcohol.
- Put the underside tile (the one with the drain holes) in place. Then, affix the primary aspect of your planter by making use of a bead of epoxy alongside the underside the place the 2 edges will meet. Place a heavy weight behind the tile to maintain it in place.
- Repeat this course of with the remaining three sides of the planter. Let it sit for 10 minutes to permit the epoxy to start out curing.
- As soon as the tiles are effectively affixed, run a bead of silicone caulking all alongside the within seams to additional safe and reinforce the joints.
- Let your planter dry for twenty-four hours earlier than planting something in them.
Air Play: Straightforward DIY Air Plant Association
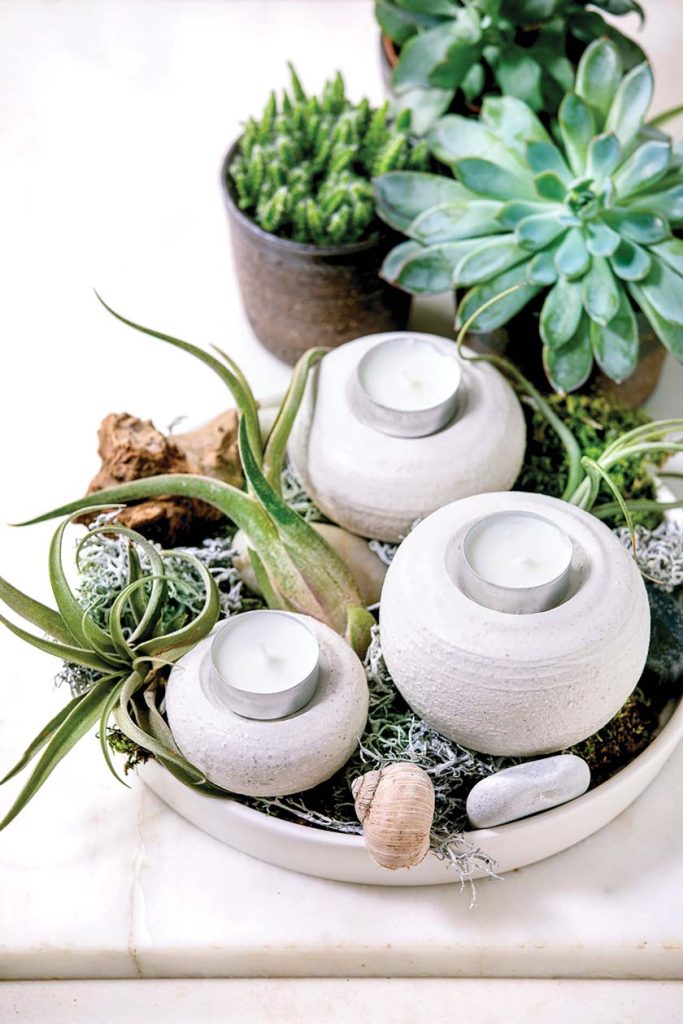
Tillandsia, or air crops, are fantastic crops for learners simply creating their “inexperienced thumbs.” These crops extract all their vitamins from the air. In case you stay in a damp local weather, nature does all of the be just right for you. In any other case, plan to mist them as soon as per week after which give them a deep bathtub a few instances every month. This undertaking places you in contact along with your inventive aspect. You could find these crops at most large field dwelling enchancment shops or massive backyard facilities (inside the shop, close to the shade and houseplants). The association will look nice in your patio or outside eating desk.
What You’ll Want
- A number of air crops
- Large planter or bowl
- Rocks
- Moss
- Votive candles
Find out how to Do It
Select a large planter or bowl and fill it with ornamental parts similar to rock, moss and even votive candles, as seen right here. Then artfully organize quite a lot of air crops within the planter.
Need to get each final drop out of summer time? Don’t miss our roundup of summer time cocktails, inspiration for an MCM picnic, and a group of a few of our favourite swimming pools. And naturally, don’t neglect to comply with us on Instagram, Facebook and Pinterest for extra Atomic Ranch articles and concepts!