
Have a kitchen base cupboard with cabinets which are disorganized and laborious to achieve? Make it work with these step-by-step directions on tips on how to convert cabinets to drawers.
Just lately, I’ve been on a quest to get organized. And I’ve now moved on to the kitchen which may actually use some assist!
I by no means appear to have sufficient room to retailer all of my kitchen gear and dishes.
There may be at all times a bunch of issues that should be moved out of the way in which each time I wish to get one thing out of the cabinet.
A part of the issue is that my kitchen cupboards have a variety of wasted area.
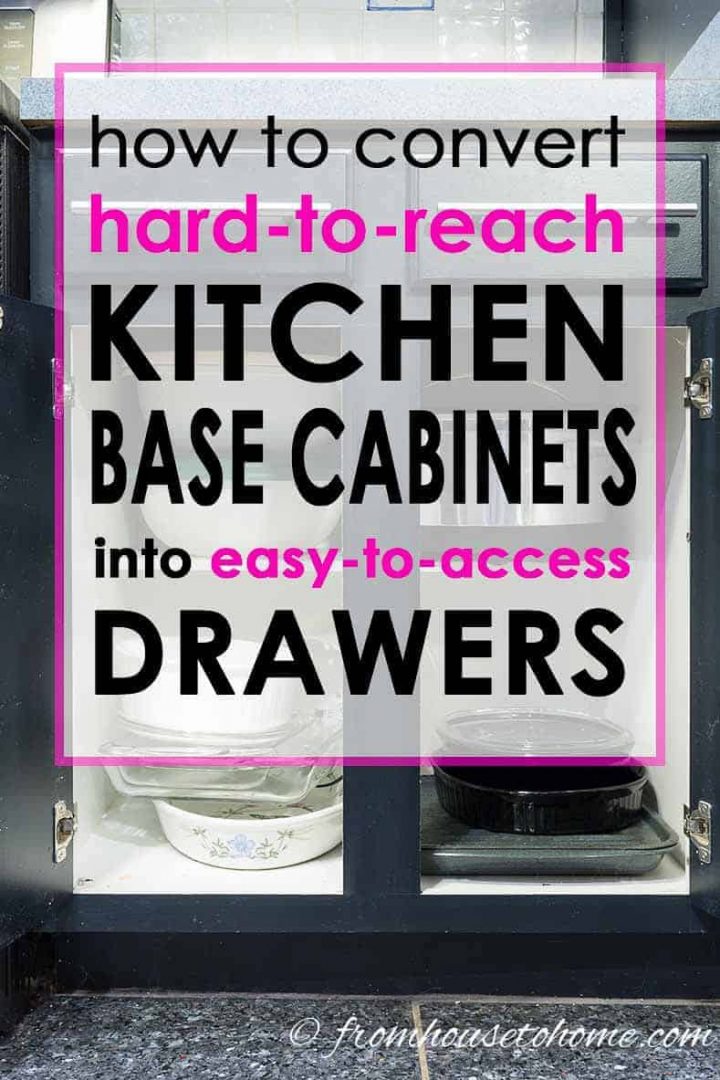
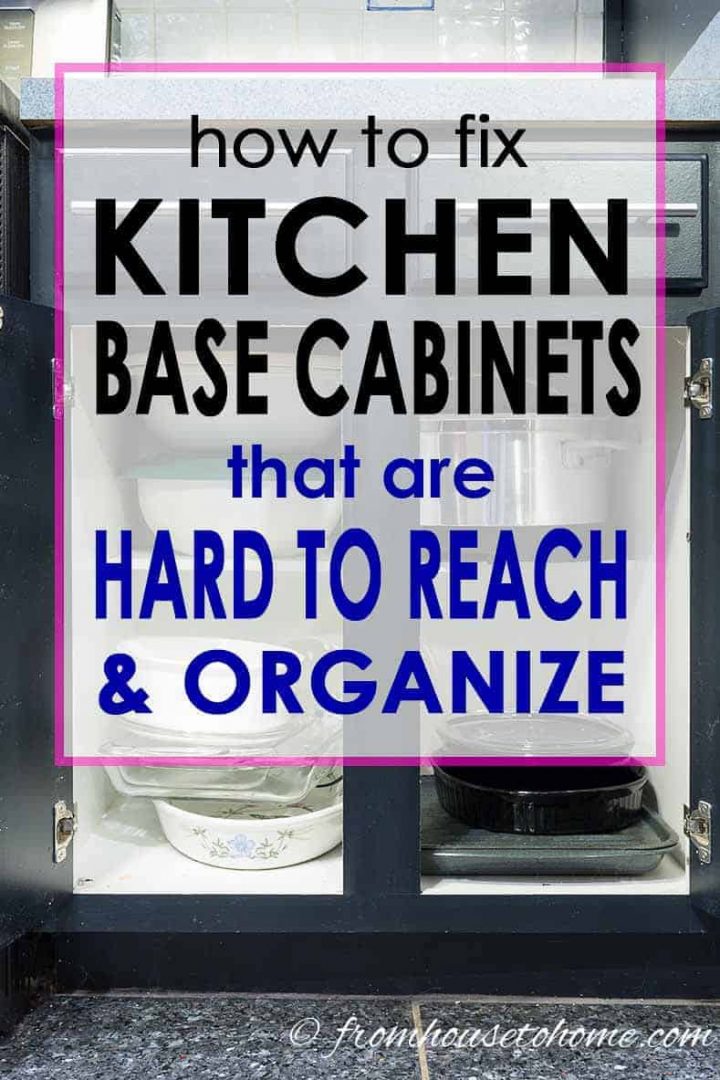
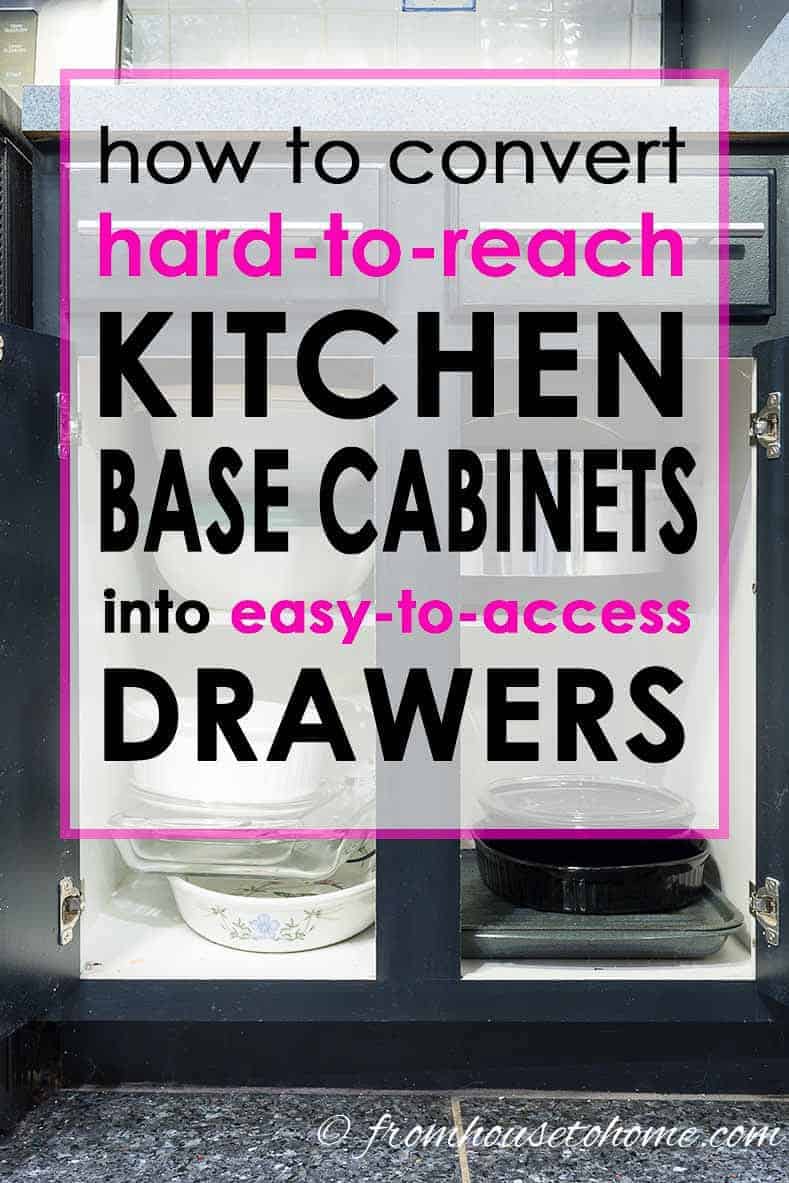
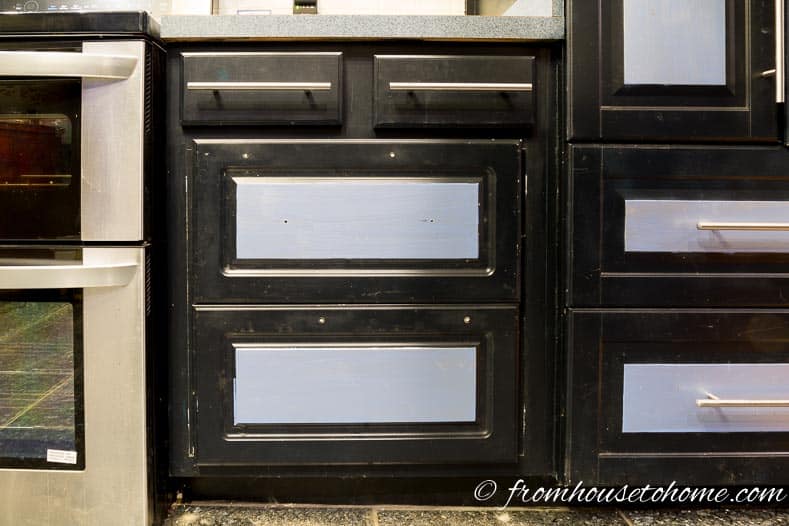
The bottom cupboard downside
Particularly the bottom cupboards which have an ordinary set of drawers with a shelf inside.

The shelf will not be move-able and is just half the depth of the cupboard. Which leaves a complete bunch of unusable area.
I had initially thought that I might put in a brand new shelf that prolonged all the way in which out to the cupboard doorways. However determined getting issues out and in of the again of these cabinets can be inconceivable (okay…slight exaggeration…not inconceivable, however not very straightforward).
So then I assumed I might purchase a few of these pull-out drawers that match inside the cupboards.
Till I spotted that as a result of my cupboards are face-framed, the area between the cupboard edge and the center framing piece was solely 10½”.
Even when I might discover pull out drawers that have been that slender, what can you slot in a 9″ drawer? Add the price of the ready-made pull-outs and I gave up on that concept.
Then I had a brain-wave. Why not convert these cabinets into drawers?
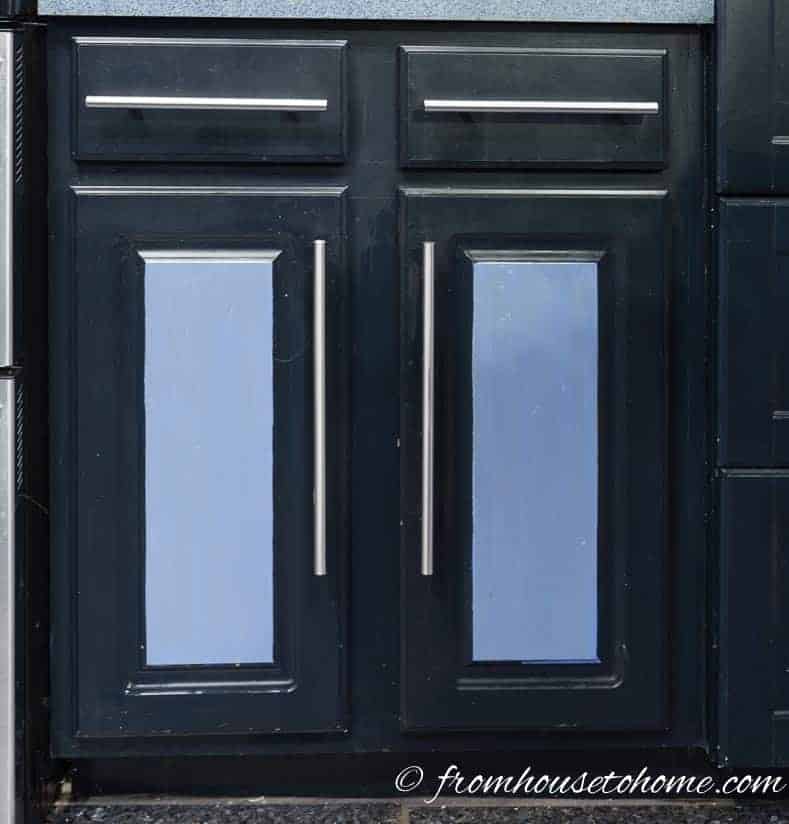
Then I might have correct pull out drawers like the big cupboard proper subsequent to it.
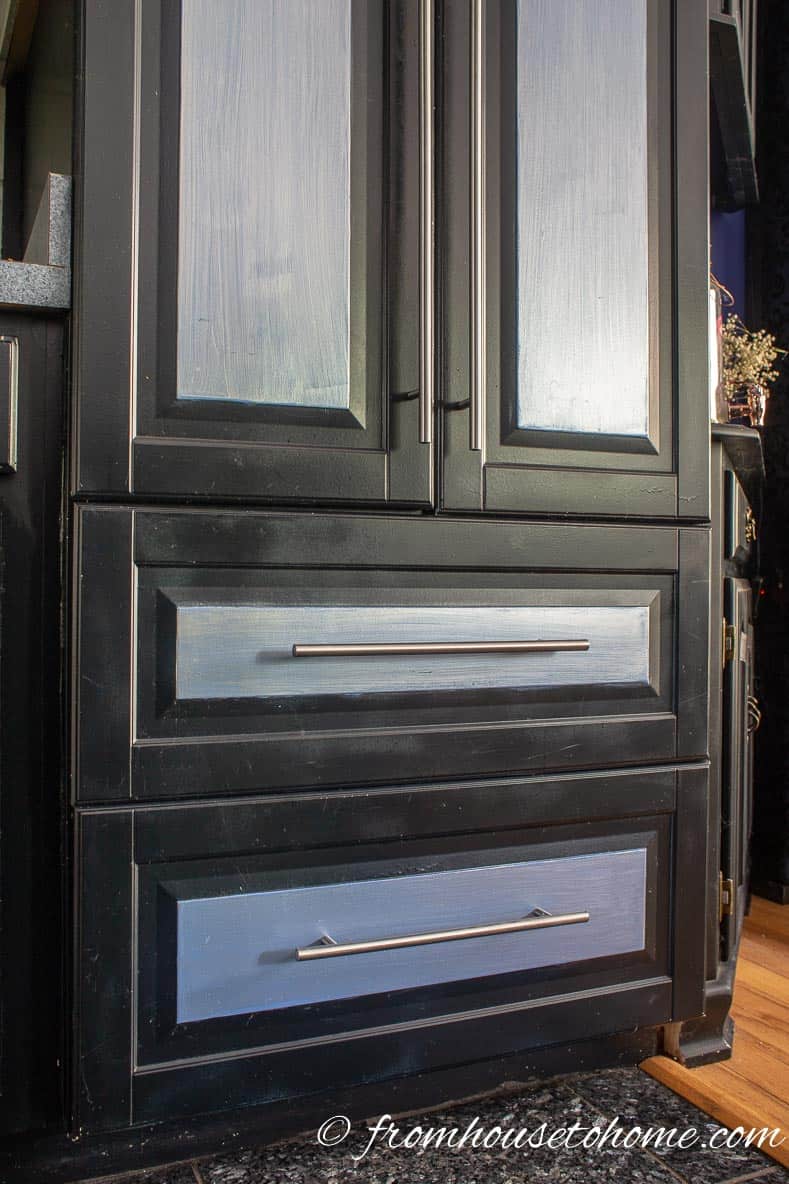
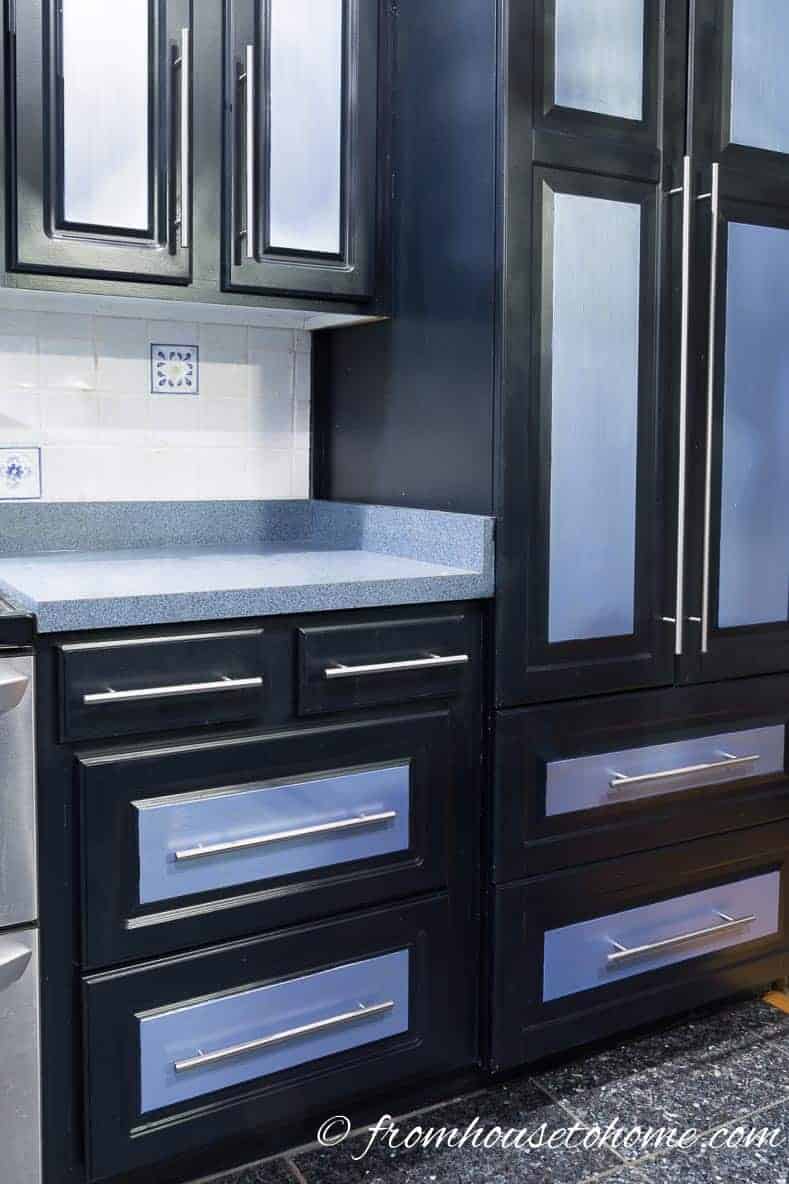
They’re nice for storing pots and pans, containers, mixing bowls, dishes or just about anything that you’d usually retailer in your backside cupboards. And the drawers make getting at these gadgets very easy.
Even higher? As a result of this cupboard is 24″ large, the opening within the cupboard is nearly sq., which implies the doorways may be turned sideways to turn into drawer fronts.
Ideas
class=”wg-callout–title”>
Re-using the identical door fronts will solely work in case your cupboard width is about the identical as your door top. In any other case, you will want to purchase new drawer fronts which are the right width. However the remainder of the mission will nonetheless work.
Hold studying to search out out the step-by-step directions to transform cabinets into drawers.
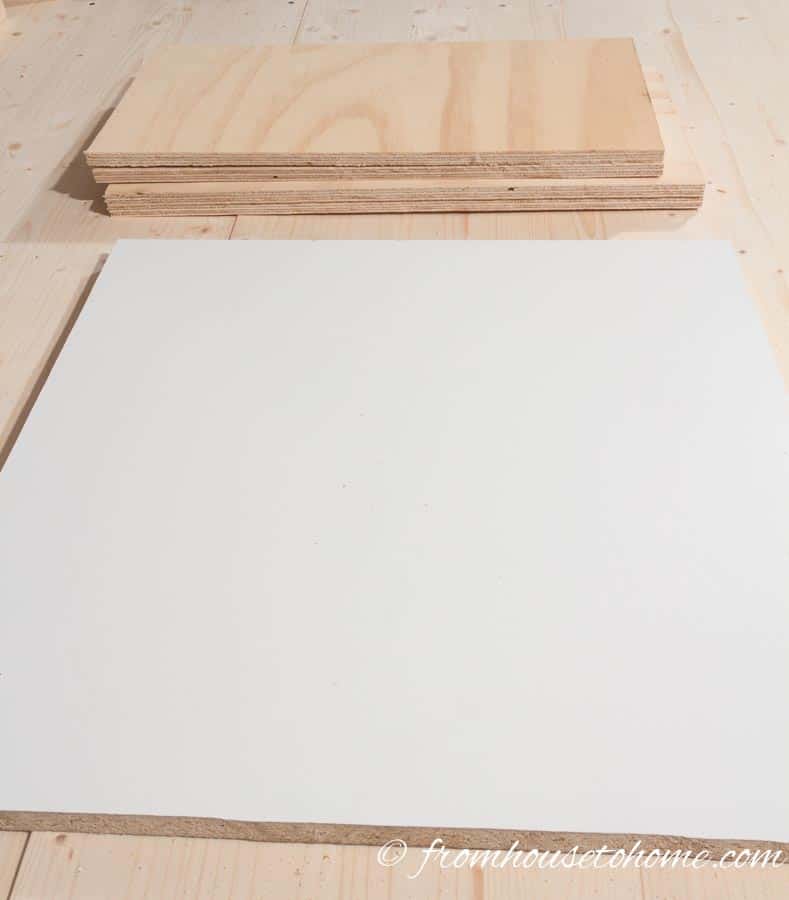
Provides
Supplies
Instruments
1 | De-construct The Current Cupboard
Take Off The Doorways
Step one within the strategy of changing cabinets to drawers is to take away the doorways from the kitchen cupboard. That is pretty straightforward…simply undo the screws which are holding the hinges onto the body.
Then take away the hinges from the door. Once more, undoing a few screws and pulling the hinge {hardware} out of the opening within the door was all it took.
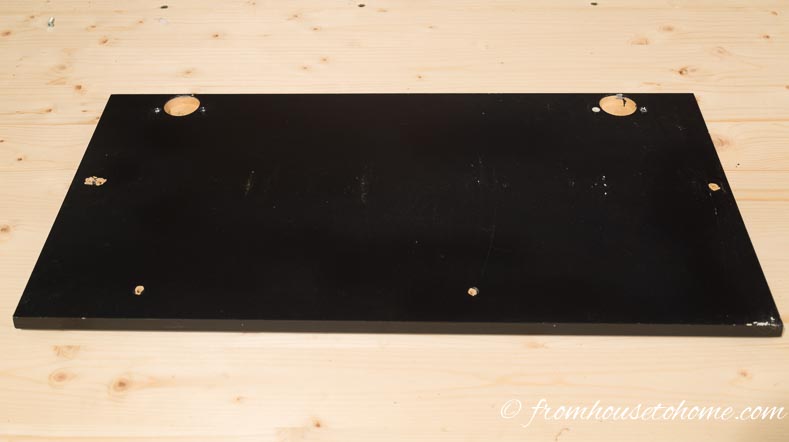
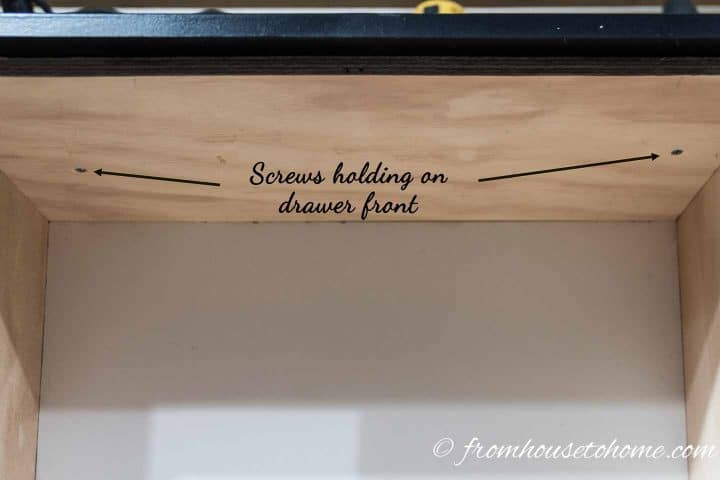
Take away the knobs or handles.
Relying on the kind of {hardware} you’ve in your doorways, it’s possible you’ll must buy a unique sort to match what’s on some other drawers in your kitchen. In my case, I used the identical deal with fashion for each doorways and drawers, however it’s put in in a unique place on the drawers (so I nonetheless needed to take away them from the door).
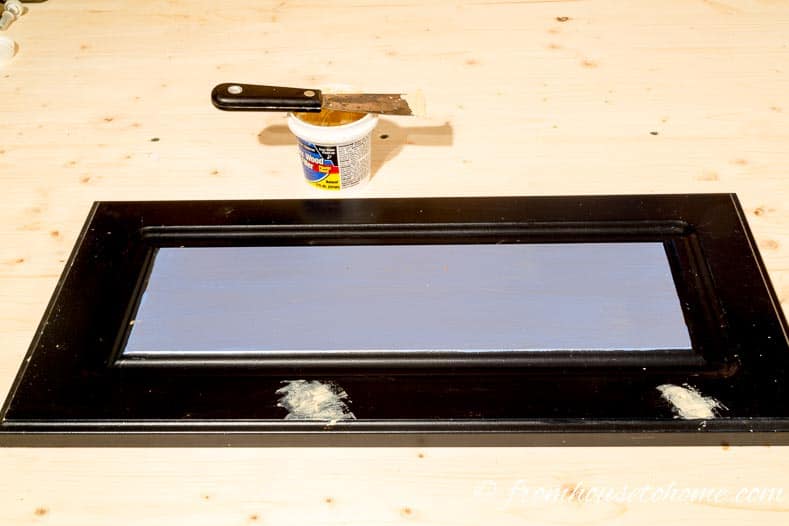
Fill the holes left by the handles with wooden filler. Clean it out excessive of the opening utilizing a scraper.
You may also fill the hinge holes if you wish to, however i didn’t trouble. After I re-installed the entrance onto the drawers, I made positive that the hinge holes have been on the underside aspect of the drawer so that you simply don’t see them.

When the filler is dry, wipe off any extra with a humid rag
Take away The Heart Body and Shelf
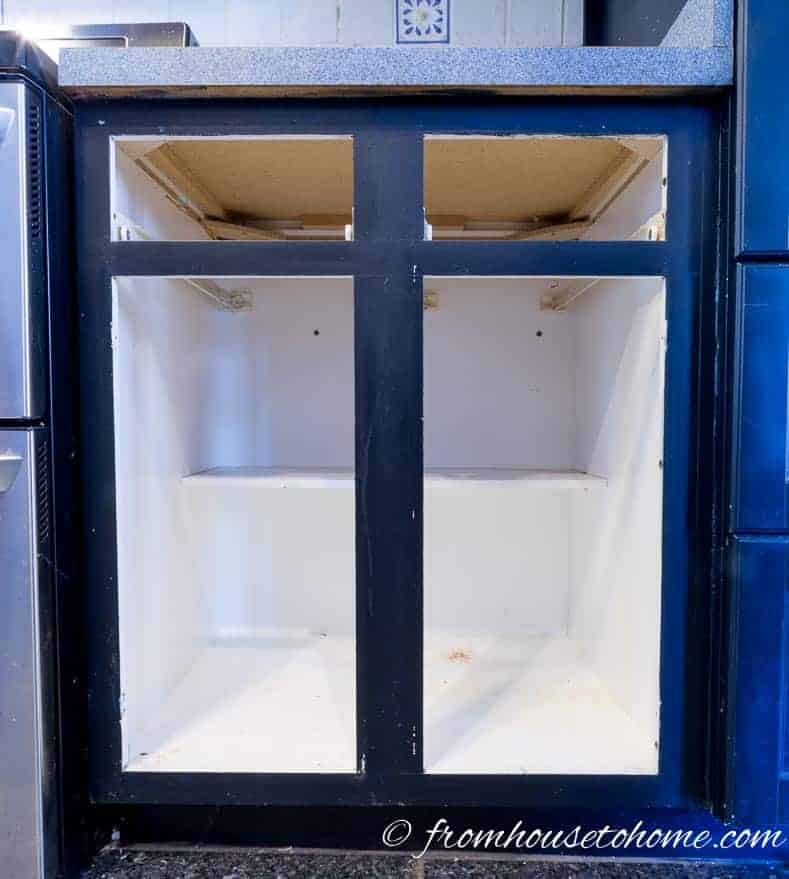
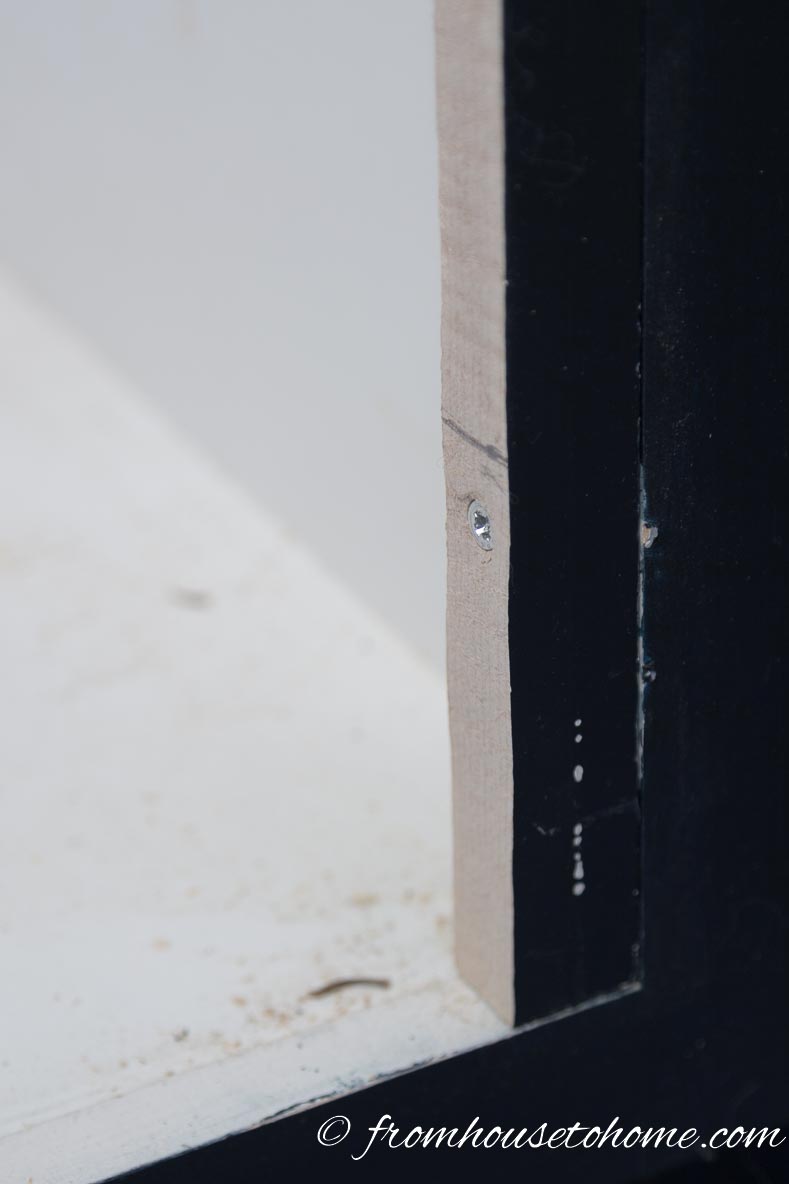
This step within the course of to transform cabinets to drawers will solely be crucial if in case you have face-framed cupboards like I do.
For the reason that gap in my cupboard was really somewhat wider than the peak of the doorways, I needed to have the ability to re-use the middle body piece to construct out the cupboard body to the right width.
So I needed to discover a strategy to reduce it out with out wrecking the wooden (or MDF because it turned out to be). The answer was to make use of a jamb noticed…the type that you simply use in the event you’re re-doing a ground and want to chop out a bit of the door jamb.
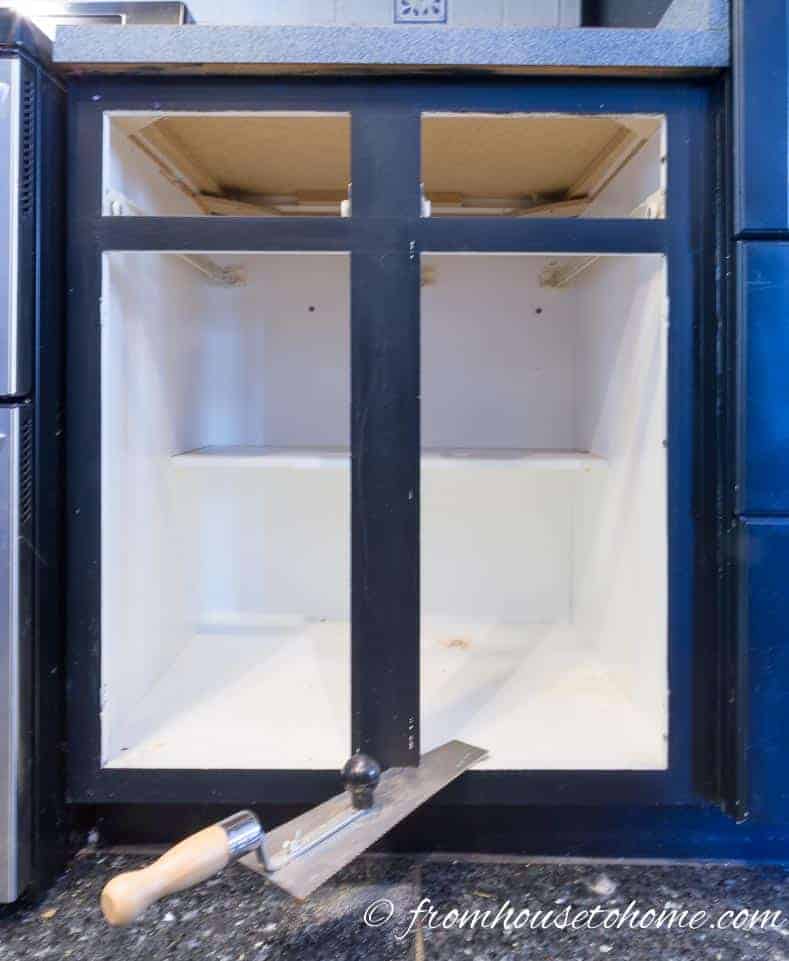
Use a jamb noticed to chop the underside of the middle body. Ensure that to maintain it as degree as potential so that you’re solely reducing the pegs that maintain it in place.
As soon as the underside is reduce, it’s best to be capable to transfer the underside of the body piece out a bit and pull out the pegs holding it in place on the prime. Mine was additionally stapled in place from inside the cupboard, so I needed to take away these staples as properly.
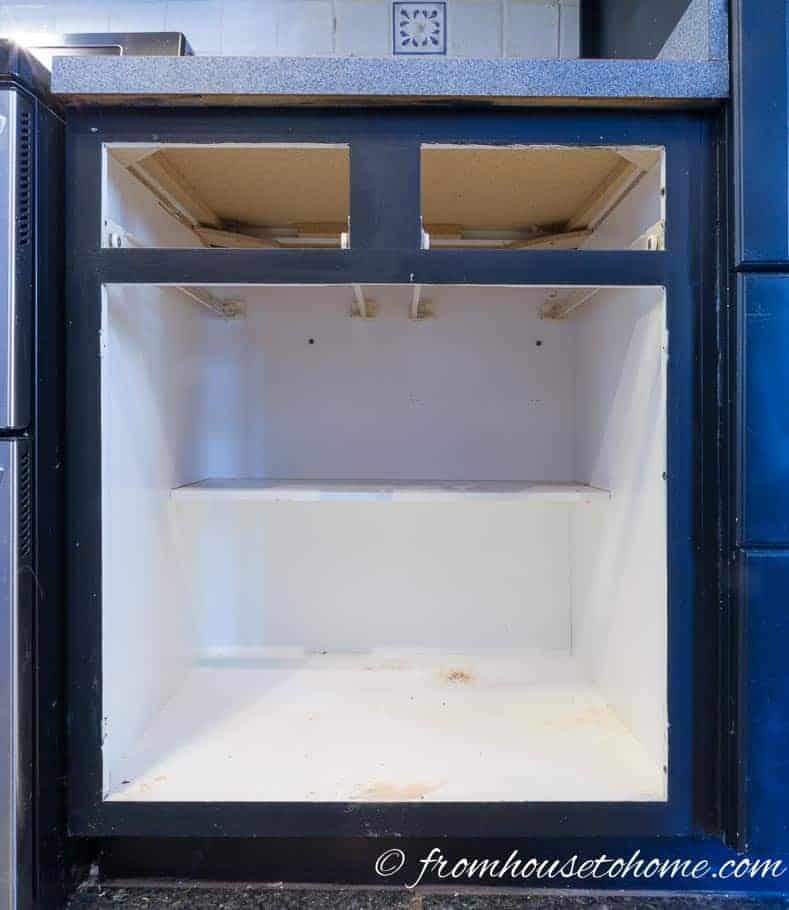
If the pegs are glued into the highest of the middle body piece (mine have been), use the round noticed to chop them off in order that the body piece is degree on the finish.
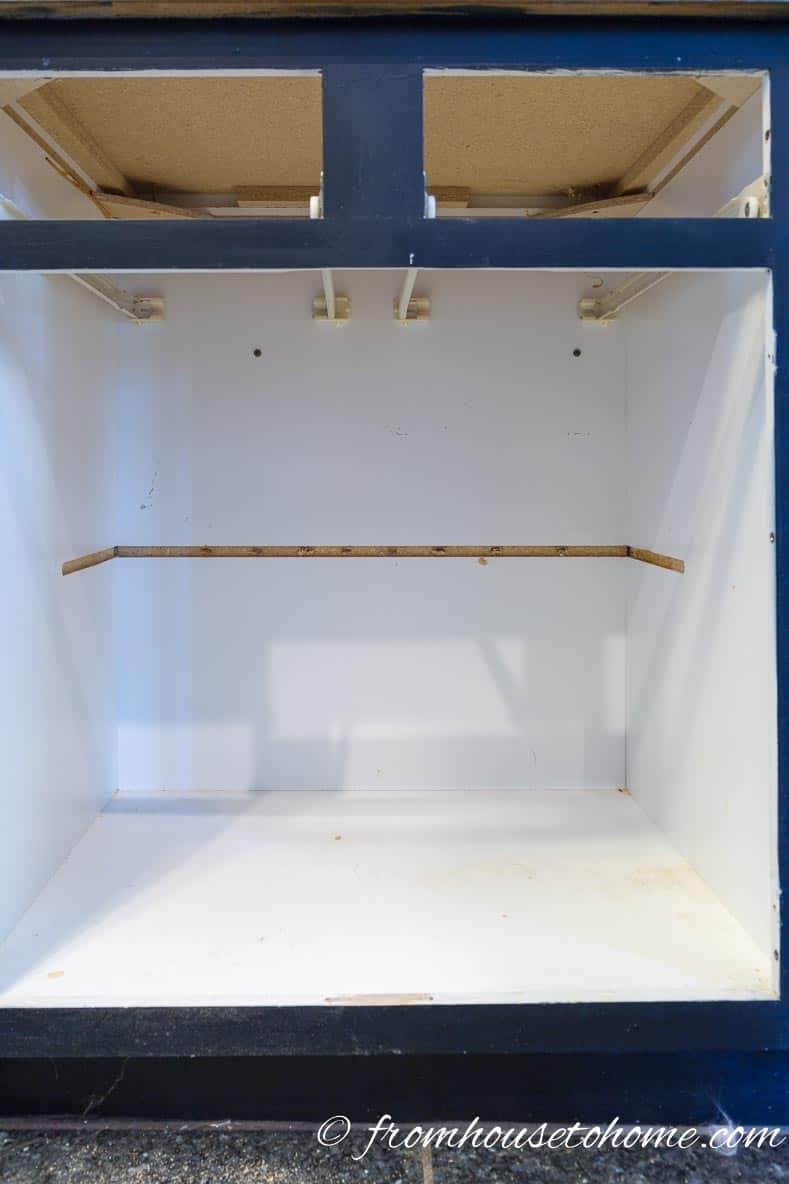
Since I wasn’t attempting to save lots of the shelf, I took a brute-force strategy to eliminating it.
Use the round noticed to make cuts within the noticed at both finish, after which hit it with a hammer. The shelf got here proper out.
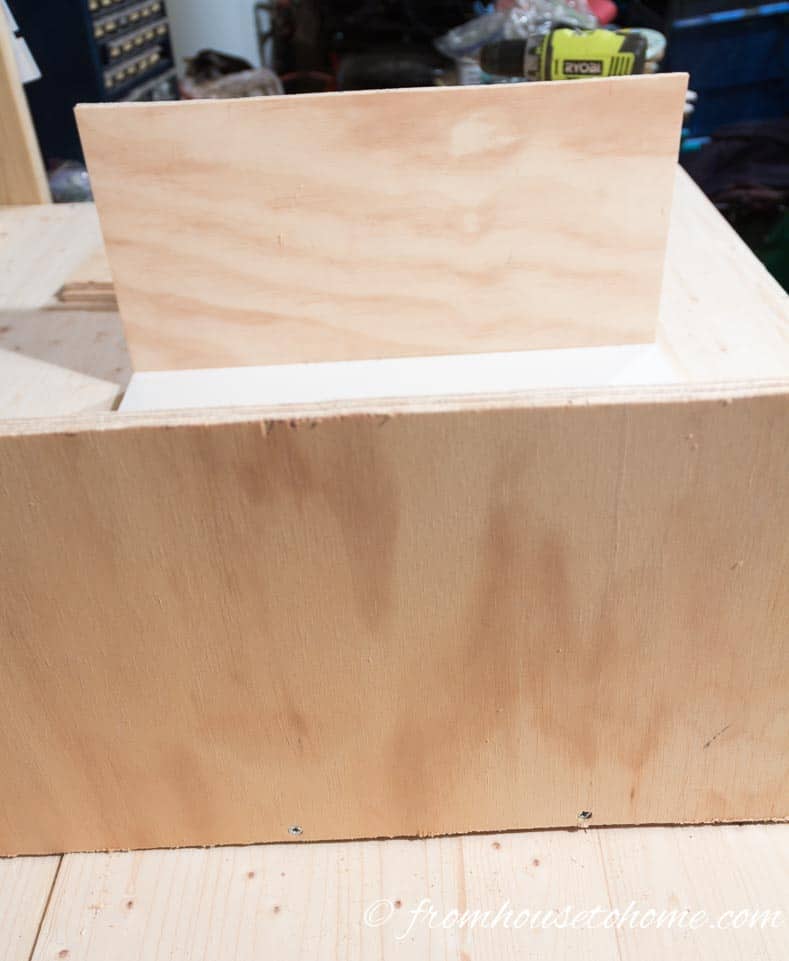
2 | Construct out the cupboard body
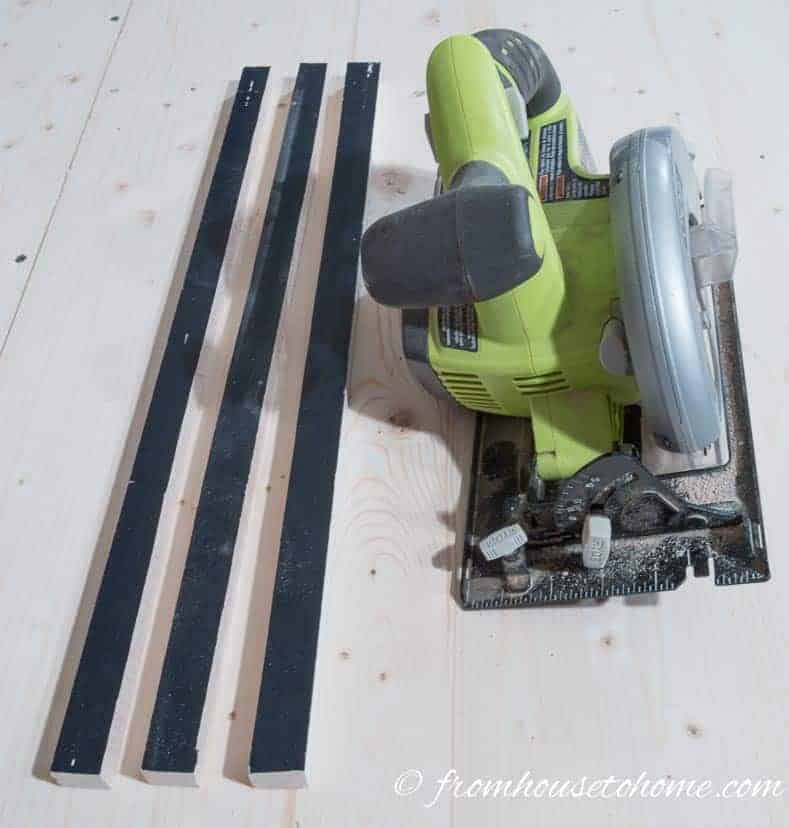
My cupboard wanted to be constructed out by an inch on both aspect in order that the drawer entrance would overlap the body. Relying on the scale of your cupboards, this step might not be crucial.
I re-used the middle body piece of wooden for this. It was already reduce to the precise top and painted the precise coloration.
Lower the middle body into 2 strips which are every 1″ large.
Ensuring that the painted aspect is out, screw these 1″ strips to every aspect of the prevailing cupboard body.
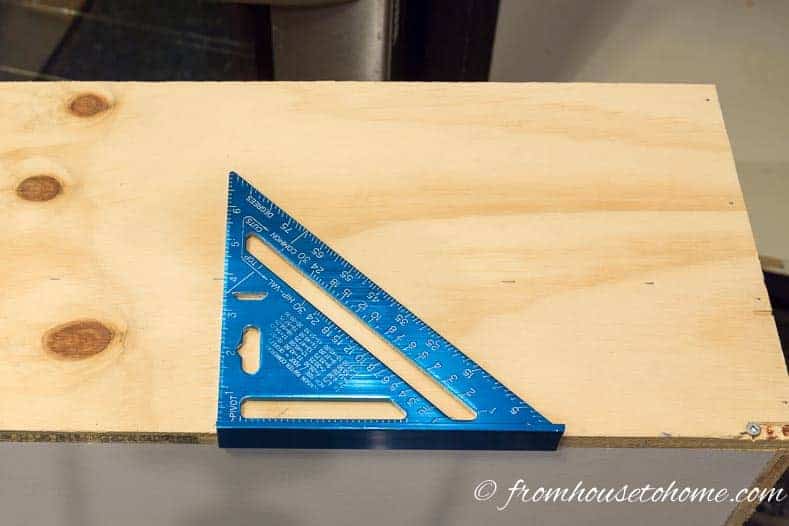
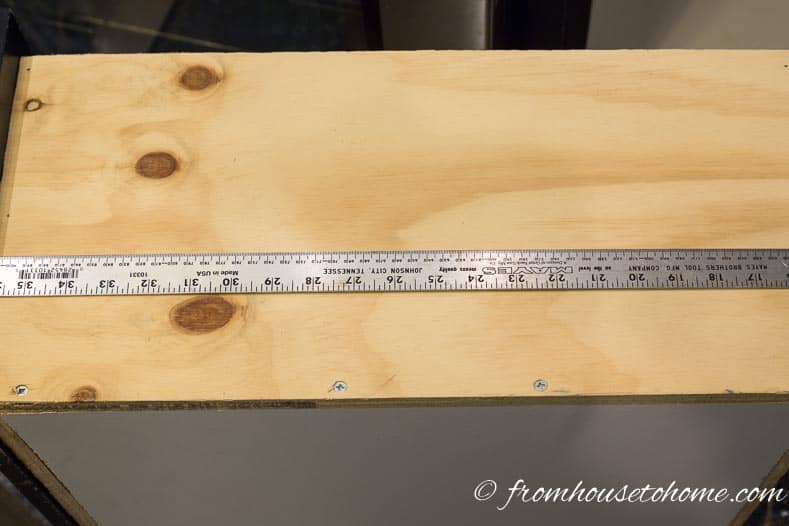
3 | Measure and reduce the wooden
Determine the scale of the underside of the drawer.
For this step, you will want to measure the width of the opening within the cupboard, and the depth of the cupboard.
The underside of the drawer ought to be 2″ shorter than the width of the opening and a pair of″ shorter than the depth of the cupboard (normally 22″ since customary base cupboards are 24″ deep).
In my case, the opening within the cupboard was 22″ large (after I put in the additional body items above), and the cupboard was 24″ deep.
My Measurements:
- Drawer backside width: 20″
- Drawer backside depth: 22″.
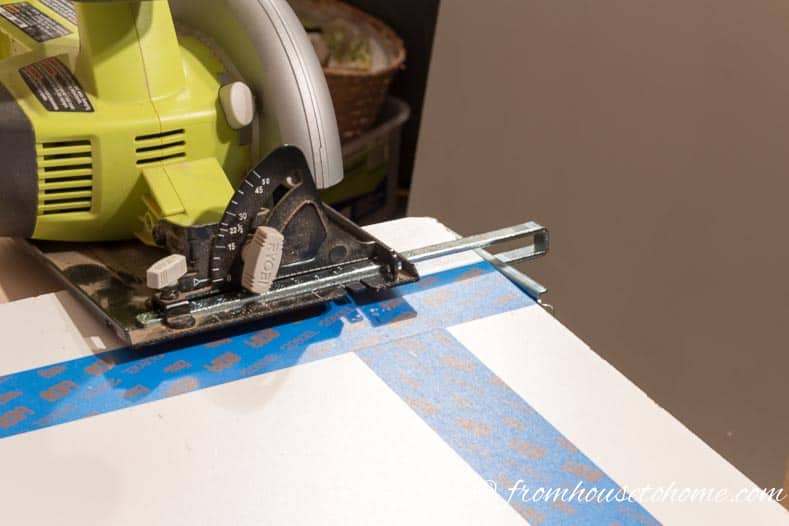
Use the round noticed to chop 2 items of the ¾” plywood to the scale of the drawer backside.
I selected to make use of comparatively thick plywood for the underside of the drawer as a result of my drawer is pretty giant dimension, and I could put some heavy pretty heavy gadgets in it. So I didn’t need it to bow or break below the burden.
Utilizing a round noticed fence will assist preserve the reduce straight.
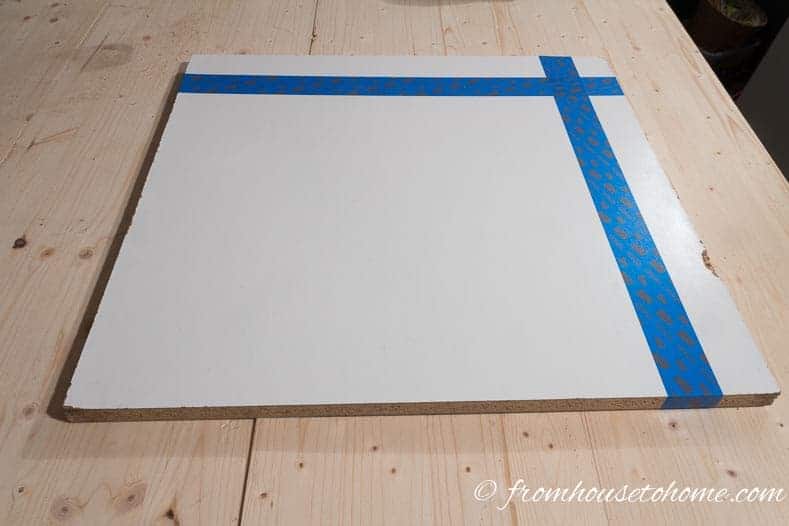
Taping the board will assist preserve the sting from getting chewed up by the noticed.
Determine the peak of the drawers.
For this step, you will want to measure the peak of the opening within the cupboard.
You’ll want to subtract a minimum of 1″ from the peak measurement after which divide it by 2 to get the drawer top.
In my case, the cupboard opening was 22″ excessive. I subtracted 1″ to get to 21″ after which divided by 2. So every of my drawers was 10½” excessive.
You can also make the drawer top shorter than this measurement, which provides you somewhat extra flexibility while you’re putting in them within the cupboard…all of it relies on how assured you’re in your means to measure appropriately
My Measurements:
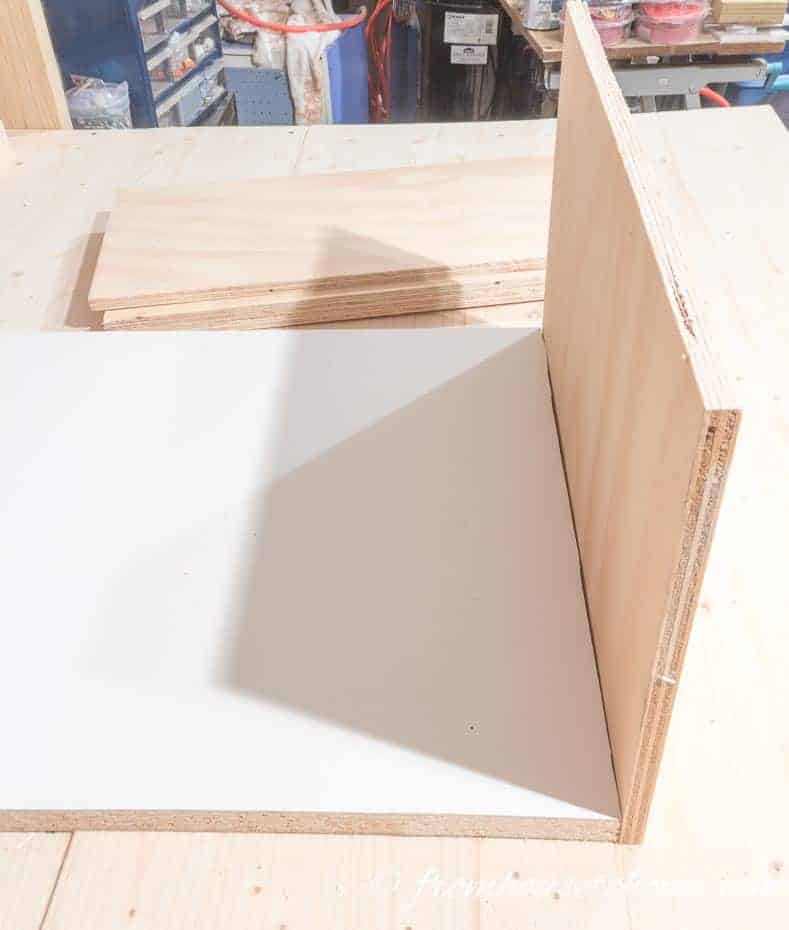
Use the round noticed to chop the ends of the drawers from the ½” plywood.
These would be the similar size because the drawer backside width and the identical width because the drawer top.
In my case, they have been 20″ x 10½”.
To make 2 drawers, you will want 4 of those boards.
Use the round noticed to chop the perimeters of the drawers from the ½” plywood.
These shall be 1″ longer than the drawer backside depth and the identical width because the drawer top. In my case, they have been 23″ x 10½”.
Once more, you will want 4 of those boards to make 2 drawers.
4 | Assemble the drawers
For all of those steps guarantee that the aspect boards are flush to the underside of the drawer board.
Use wooden screws to connect the primary finish board to 1 finish of the drawer backside. The tip boards are those which are the identical size because the width of the drawer.
Use wooden screws to connect the second finish board to the opposite finish of the drawer backside.
They need to be on reverse sides of the drawer.
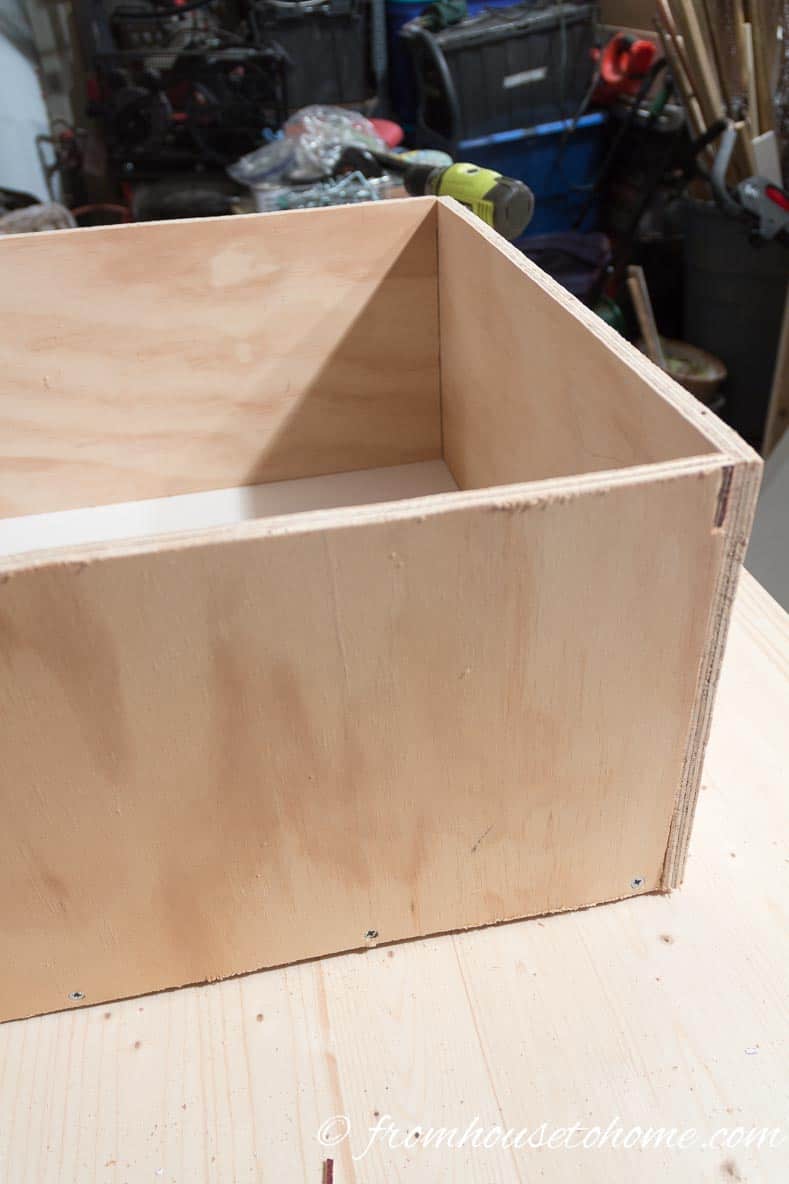
Connect the primary aspect board to the drawer backside, utilizing wooden screws. It ought to line up on every finish with the 2 finish boards you’ve already put in.
Use ending nails to connect the drawer sides to one another in order that the corners meet. Beginning on the backside and dealing your method up will assist be certain all the things is straight.
Use wooden screws to connect the opposite aspect board to the drawer backside.
Use ending nails to connect the perimeters to this finish board in order that the drawer is full.
Repeat these steps for the subsequent drawer.
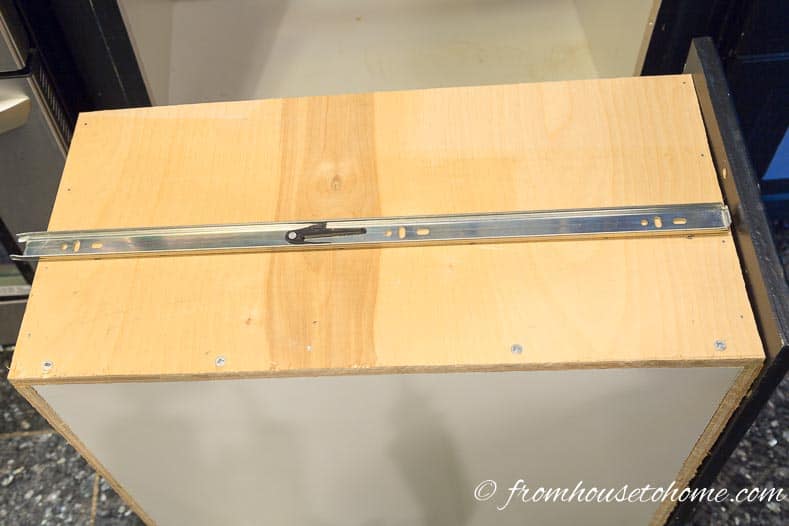
5 | Add the drawer slides to the drawers
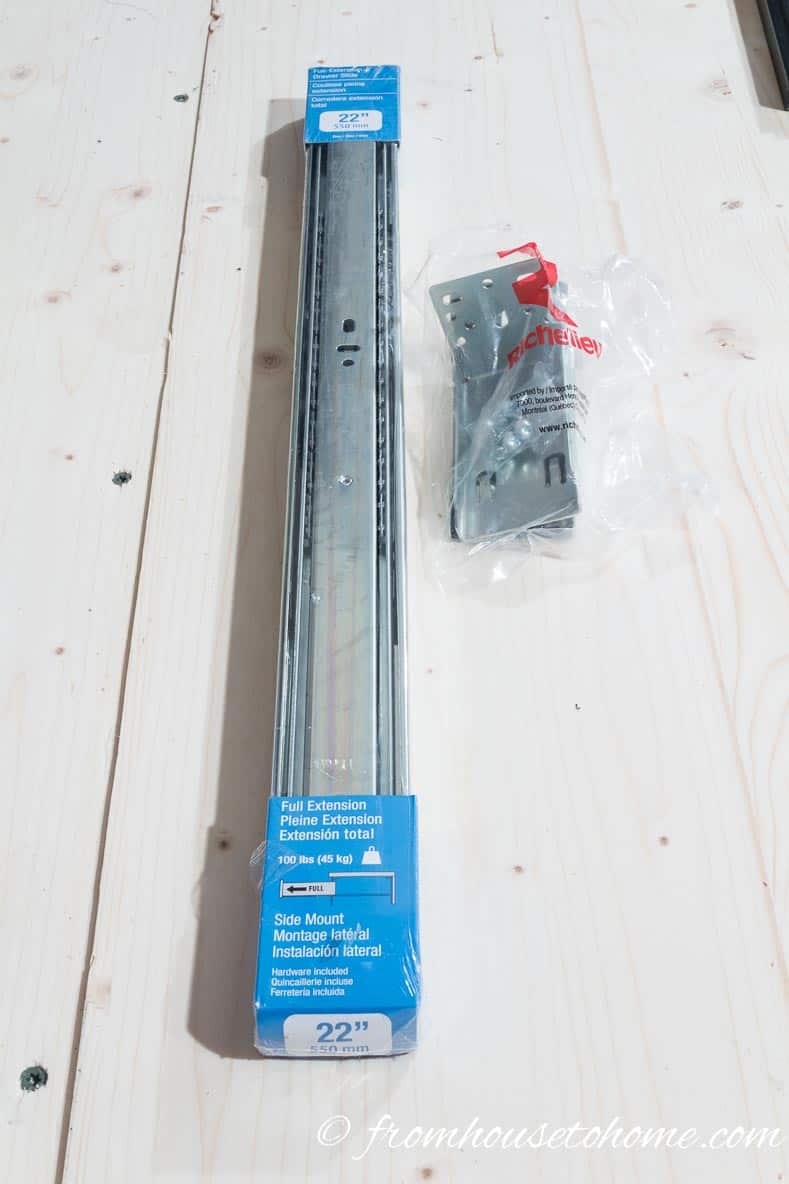
I used heavy responsibility full-extension drawer slides for the drawers in my conversion.
I’ve used these drawer slides in different functions and by no means had any issues with them breaking. So I made a decision to make use of them within the kitchen as a result of I could put heavy gadgets in these drawers.
In the event you don’t suppose you want these heavy responsibility hinges, you’ll be able to go along with the usual European cupboard hinges that are somewhat simpler to put in (you don’t have to fret about matching up the slides).
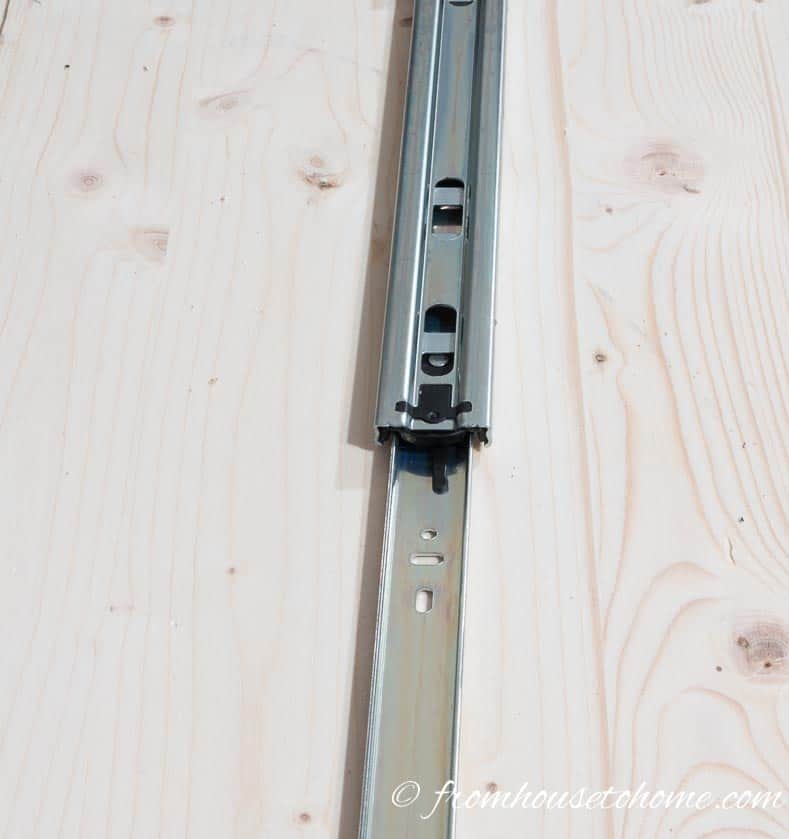
Separate the drawer slides by extending them out, discovering the little launch latch, and pushing it down.
On the aspect of the drawer, measure up from the underside of the drawer the place you need the drawer slide to go.
It ought to be within the decrease half of the drawer however not too near the underside.
I put in mine at 4″.
Draw a straight line throughout the aspect of the drawer.
Use the supplied screws to put in the drawer portion of the drawer slide (this would be the a part of the slide that doesn’t lengthen).
backside fringe of the slide ought to meet your line.
Just remember to have the slide on the right method. The closed finish ought to be about 1/8″ from the entrance of the drawer.
Set up the drawer slide on the opposite aspect of the drawer, ensuring that the closed finish is pointing to the identical aspect as the primary one.
It’s also essential that the slide be put in at precisely the identical top. In any other case your drawer shall be crooked while you attempt to set up it within the cupboard, and will not shut correctly.
Repeat these steps for the opposite drawer.
6 | Set up the drawer slides within the cupboard
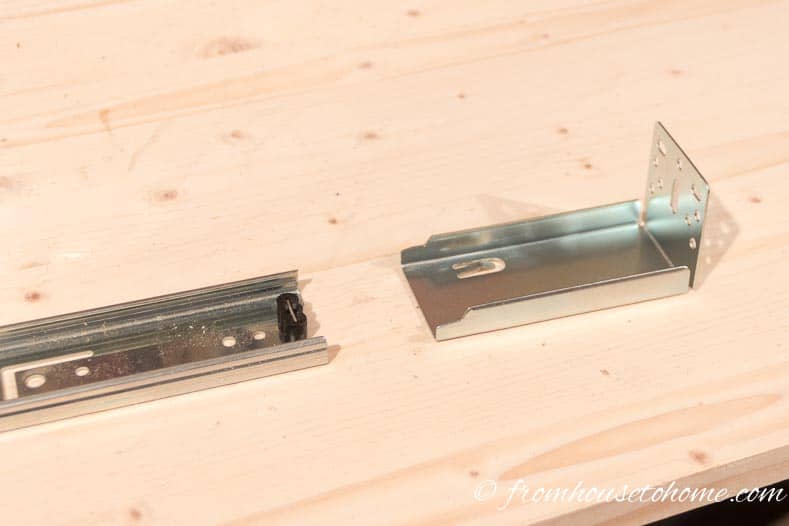
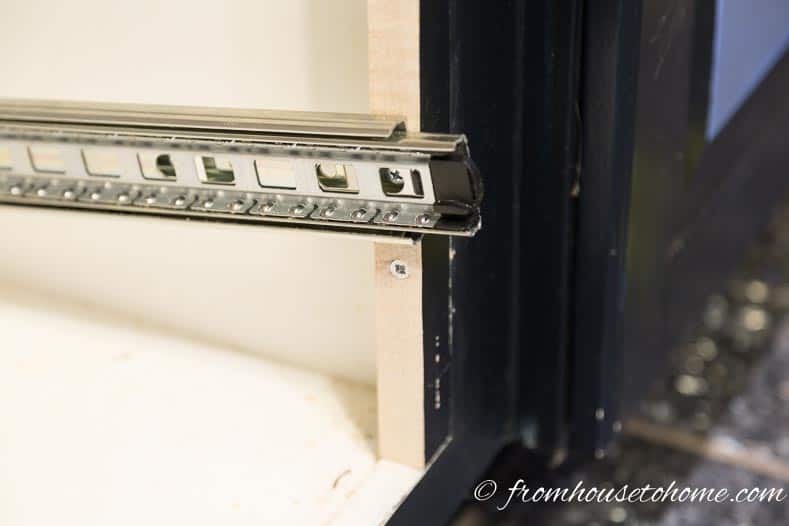
When you have face-framed cupboards like I do, you will want so as to add the rear mounting brackets to the tip of the drawer slides.
Mark the place the underside slide ought to be put in.
Measure the identical distance up from the underside of the cupboard that you simply did to put in the drawer slides on the drawers.
When you have face-framed cupboards the place the body sticks up somewhat from the underside of the cupboard, you’ll want to measure from the body up (not from the underside of the cupboard). In my case this was 4″.
Mark the place the highest slide ought to be put in.
For this step, you’ll first must measure the width of the cupboard doorways (that are actually going to be the drawer fronts).
Then add ¼” clearance.
It will enable the drawers to open and shut with out touching one another.
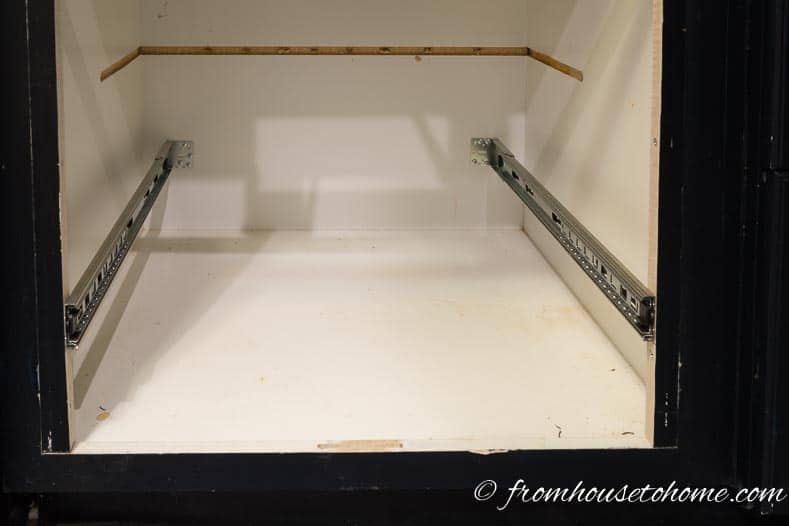
In my case the cupboard doorways have been 11½” large, so I wanted to put in the highest drawer 11¾” above the underside drawer.
Measure this distance up from the mark you made in step 2. In my case I measured up 11¾” up from the mark I had made at 4″.
Set up the underside drawer first.
Use the supplied screws to put in the tip of the drawer slide (that’s the half that extends) to the aspect of the body on the entrance of the cupboard.
Or, in the event you don’t have face-framed cupboards, you’ll be able to set up the drawer slide instantly onto the aspect of the cupboard. The underside fringe of the slide ought to meet your measurement.
You will have to drag out the extension arm somewhat bit in order that you’ll be able to see the screw gap via one of many holes within the slide.
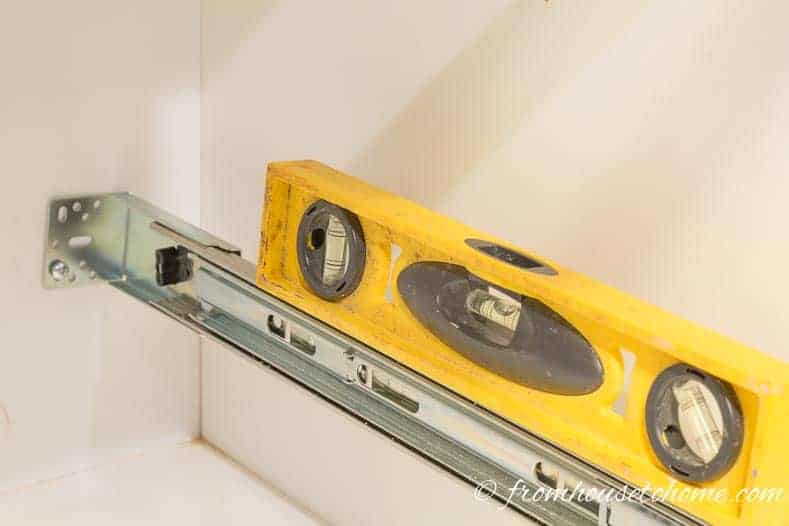
Maintain up the again finish of the drawer slide and guarantee that it’s degree.
Then put a screw in one of many vertical slots of the again plate to connect it to the again of the cupboard.
It will assist you to make minor place modifications in order that the slide is degree.
As soon as it’s degree, put within the further screws.
Repeat these steps for the drawer slide on the opposite aspect of the cupboard.
Once more, it’s actually essential that the slides are put in on the similar top or you should have points with the drawer not functioning appropriately.
Set up the drawer by sliding the ends of the slide on the drawer into the slides which are hooked up to the cupboard. Push the drawer all the way in which in to verify it has been absolutely locked in.
Repeat steps 4 – 7 to put in the highest drawer.
7 | Set up the drawer fronts
I’m assuming that skilled cupboard makers would say the drawer fronts ought to be placed on the drawers earlier than you’ve them put in within the cupboard. And so they most likely ought to be.
However as a way to do this, it’s a must to guarantee that your drawers have been put in in precisely the precise place.
And I’ve by no means been notably profitable at doing that.
In order that’s why I put the drawer fronts on final. Then you’ll be able to place them the place they should go for the drawers to work
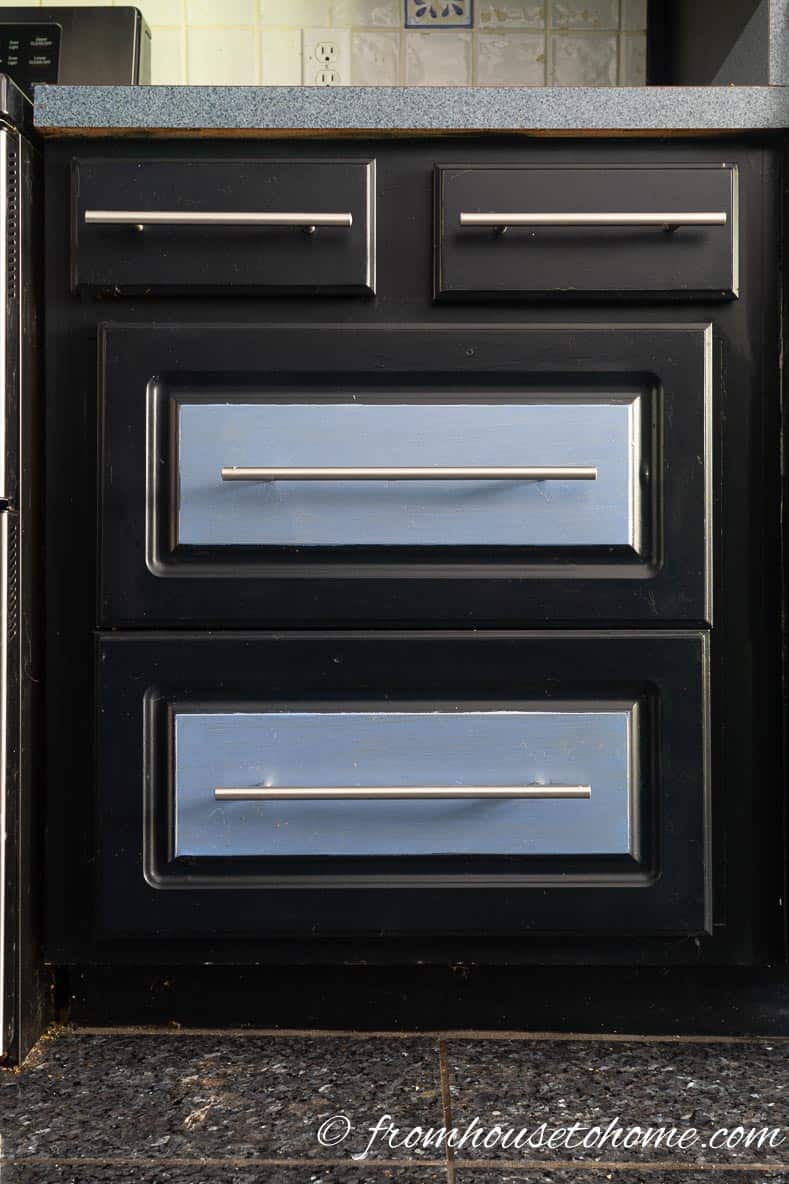
Clamp the underside drawer entrance to the underside drawer in order that the highest of the drawer entrance is about ½” under the highest drawer.
Ensure that the drawer entrance is degree and has the identical quantity of overhang on either side of the drawer.
Measure the place the handles in your drawer must go, primarily based on the scale of your handles.
Drill holes which are large enough to suit the deal with screws.
Set up the deal with.
Repeat for the highest drawer ensuring that the highest door entrance aligns with the underside door entrance.
8 | The ending touches
Repair up any spots on the fronts that require paint.
It’s possible you’ll want so as to add some caulking in the event you prolonged the body like I did.
In the event you didn’t use melamine for the drawer, you’ll be able to paint the drawers or use shelf paper to line them.
Okay, so it was some work to get this cupboard conversion finished, however the finish result’s undoubtedly value it!
I like my new drawers! And hopefully you’ll love yours, too!
Different Kitchen Group Initiatives You May Like
Or browse all of our kitchen storage concepts.
Have feedback or questions on tips on how to convert cabinets to drawers? Inform us within the part under.
This publish was initially printed on January 25, 2016 however was up to date with new content material on December 10, 2023.